Congratulations Mama! Becoming a Mother is truly an amazing thing. A lot of new moms fear that their body will never be the same as it was pre-motherhood.
…but that doesn’t mean it can’t be even better!
A big part of achieving a hot-mom-bod is believing in the possibility of it. It’s possible and I’m going to show you the steps to make it a reality.
Follow these 8 simple tips to achieve a figure that is even better than your old bod.
1) Learn Your New Nutrient Needs
Most likely your appetite has changed during your pregnancy and after. You may have gotten used to “eating for two”.
As a new mom, your nutrient needs are different from before you had kids.

Some factors that affect your metabolism:
- Pregnancy
- Recovery
- Changed Activity Level
- Lactation
- Changed nutrition
If you are breastfeeding your baby it’s recommended to consume more calories than you did before, but not double. An extra 500 calories per day is recommended for women who are breastfeeding versus 1800-2000 daily calories for a moderately active non-pregnant non-lactating woman. [1]
A lot of new mom’s make the mistake of “eating for two” when they really only need to bump up normal daily calories by about 20%.
Including a small extra snack each day or slightly larger portions at each meal is enough to make up for the increased nutrient needs.
Talk to your doctor or a qualified nutritionist about exactly how much more food you need and be aware of the nutritional values of the foods you are eating. If you are not losing weight it may be a symptom that your nutrition is exceeding your needs.
Here’s What You Can Do To Find Out:
- Take one day to track everything that you eat.
- Use a nutrition tracking software and enter the foods you eat and the quantities you eat them in. (Make sure to record everything, including beverages, especially sweetened ones)
- At the end of the day, you’ll have your total daily calories along with how much protein carbohydrates and fats you take in.
- Use this information as a learning experience to discover if you are meeting, exceeding, or deficient on your nutrient needs.
If you found you were overeating you can adjust by eating slightly smaller portions at each meal, eliminating one meal or snack, or choosing foods lighter in calories – for example swapping bread, pasta, rice, or potatoes for greens or other veggies instead.
Being well informed is the best way to make adjustments and find that healthy balance of eating the right amount for your body.
2) Breastfeed Your Baby
Breastfeeding has been shown to increase a mother’s metabolism significantly [2]. While there are some very valid reasons you may choose not to breastfeed you may want to consider it if you’re worried about regaining your figure post pregnancy.

Whether you choose to or not is entirely up to you, but most mom’s who do breastfeed generally have an easier time getting the post-pregnancy weight off than mom’s who don’t.
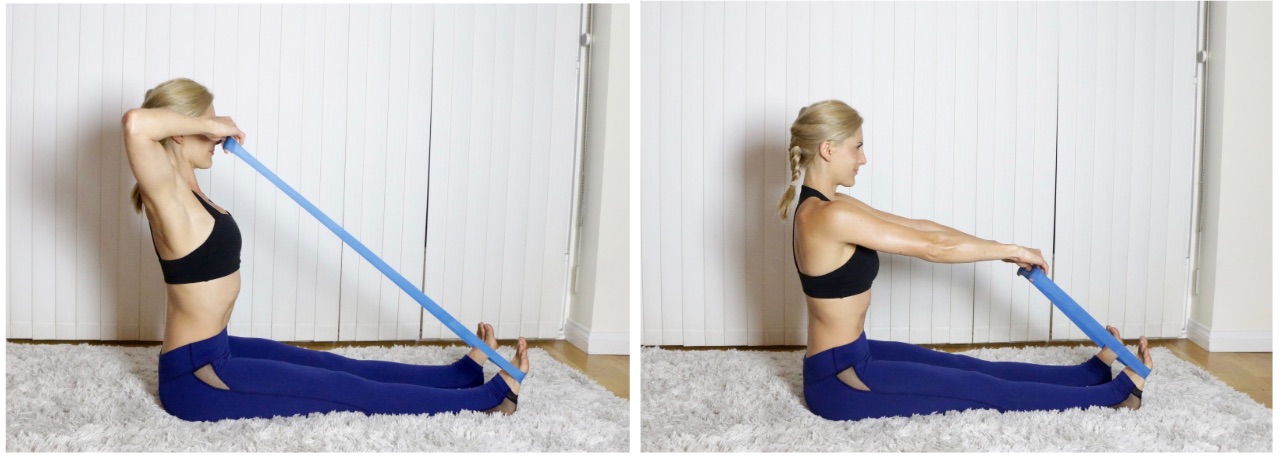
3) Do Strength Training 2-3x Per Week
Strength training is an important but often overlooked component of losing fat and getting a lean/toned look. By training your body to be stronger you’ll increase your rate of metabolism, meaning you’ll burn more calories even while at rest.
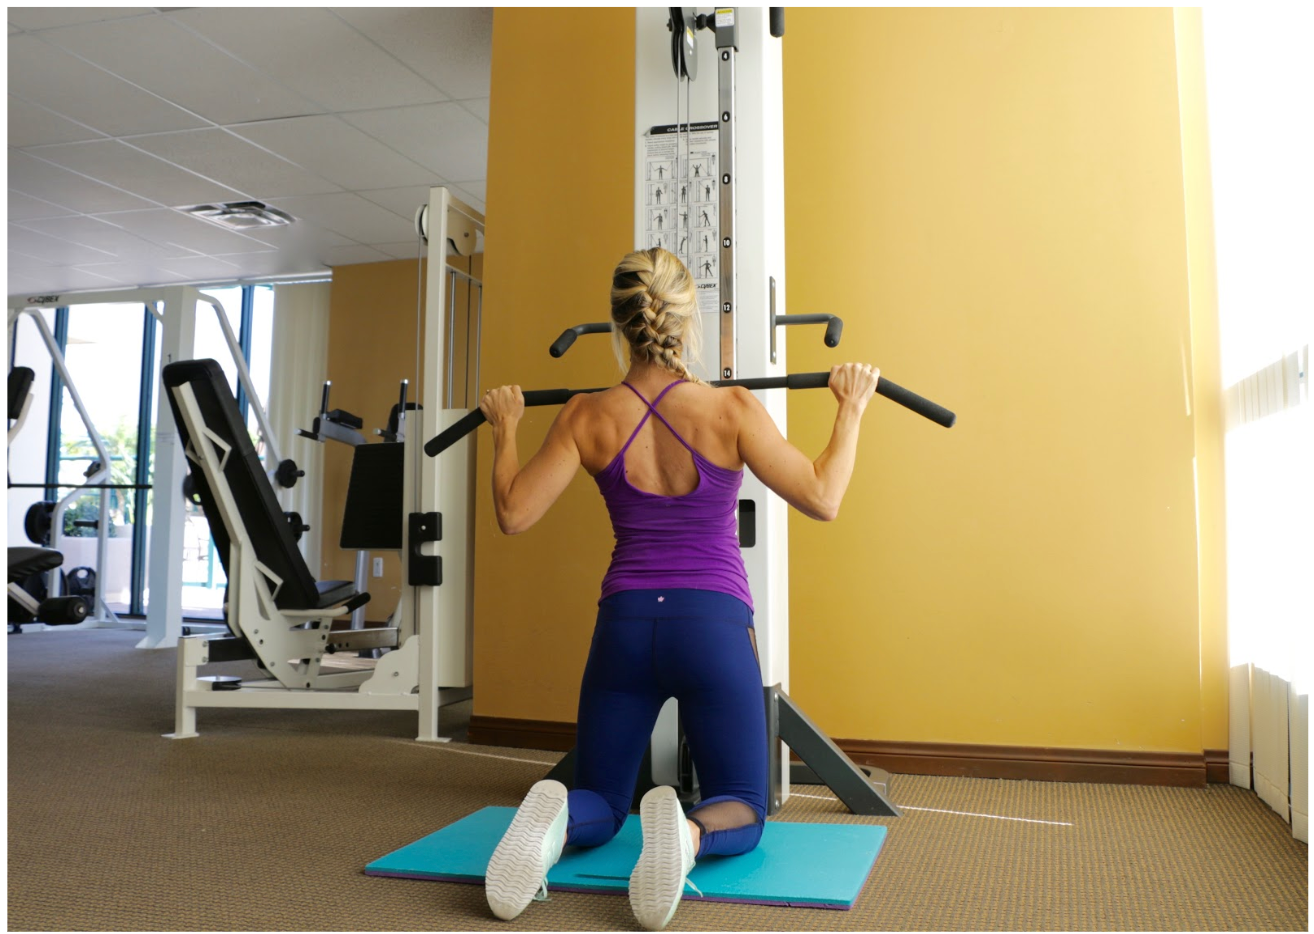
You don’t need to strength train every day though, just 2 to 3 strength sessions per week should be enough to revive your metabolism and help tone your muscles.
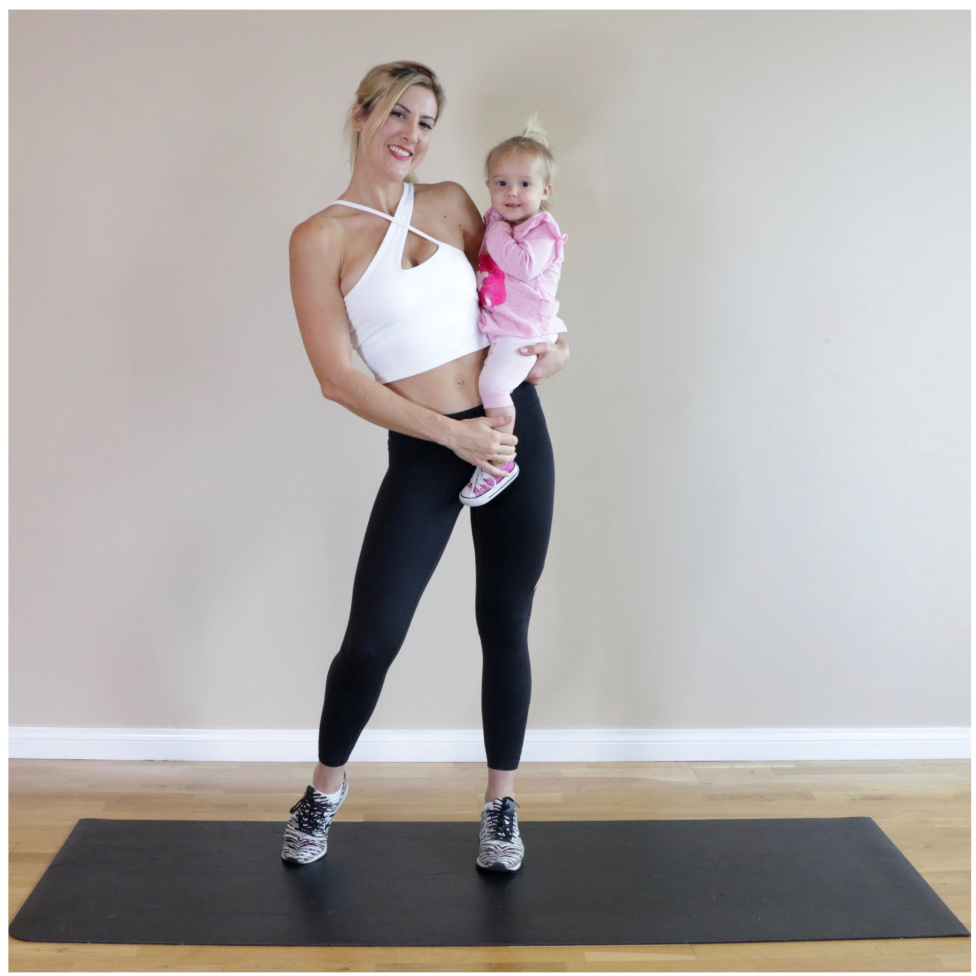
4) Do Cardio In Small Increments Frequently (5+ Times Per Week) Instead Of Long Durations Occasionally
A lot of new moms will go through phases where the weight seems to be coming off more easily than other times, and phases where you feel like working out more than other times.
Just as our body weight will fluctuate, so will our motivation to exercise.
If you have already experienced what it’s like to go through a fit phase and then lose it then you know how painful it can be to have to start all over again.
A much better approach to sustainable fitness is to learn to become active on a regular basis by taking some of the pressure off.
Feeling like every workout you do needs to be super intense and a full hour-long may be standing in your way of getting great results by just giving yourself 10 minutes a day of moderate activity.
When it comes to cardio exercise, some is always better than none, and more frequently is better than more total. Doing 15 minutes per day every day will give you better results than 60 minutes just once or twice per week.
By committing to small chunks every day you lessen the risk of burnout, you won’t get as sore or tired from it, so you’ll be more likely to feel up to it again tomorrow, and you’ll see better results in the long run versus starting and stopping again over and over.
Treat your “cardio” as a play date instead of work. With your kid around it’s easier to keep a light playful attitude and have fun with it. Your baby may even giggle as he or she watches you bounce around and have a good time.
Put on some fun music and commit to just 8-15 minutes of moving your body.
Here’s A Sample Cardio Workout To Try:
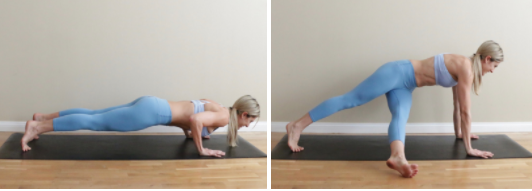
I generally choose 4 different exercises and do them for timed intervals of 30 seconds each with 30 second rest periods in between. I then repeat the circuit of 4 twice for an 8-minute total body cardio workout. If you want a longer workout you can repeat it three or four times.
Bonus: by doing your cardio this way versus running or elliptical you’ll be strengthening your core and toning your arms and legs at the same time. Talk about bonus points!
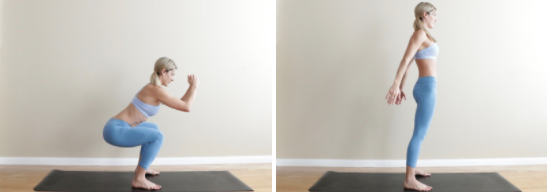
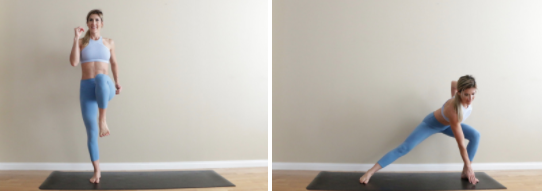
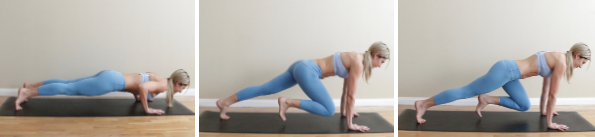
Here are 4 example exercises I love to use for cardio and how to do them:
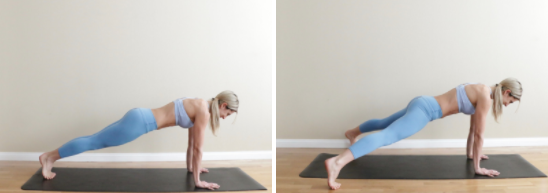
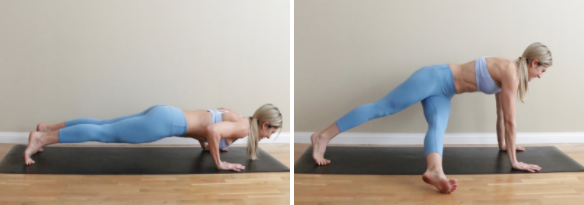
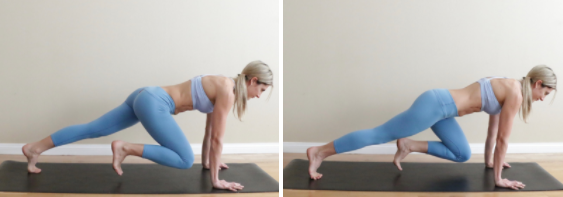
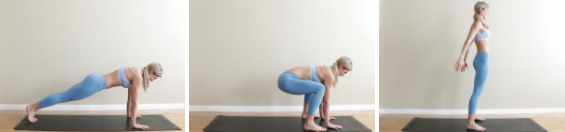
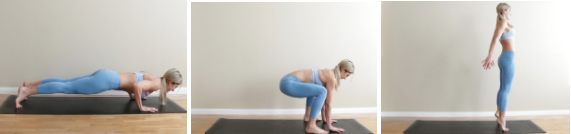
1) Plank Tucks
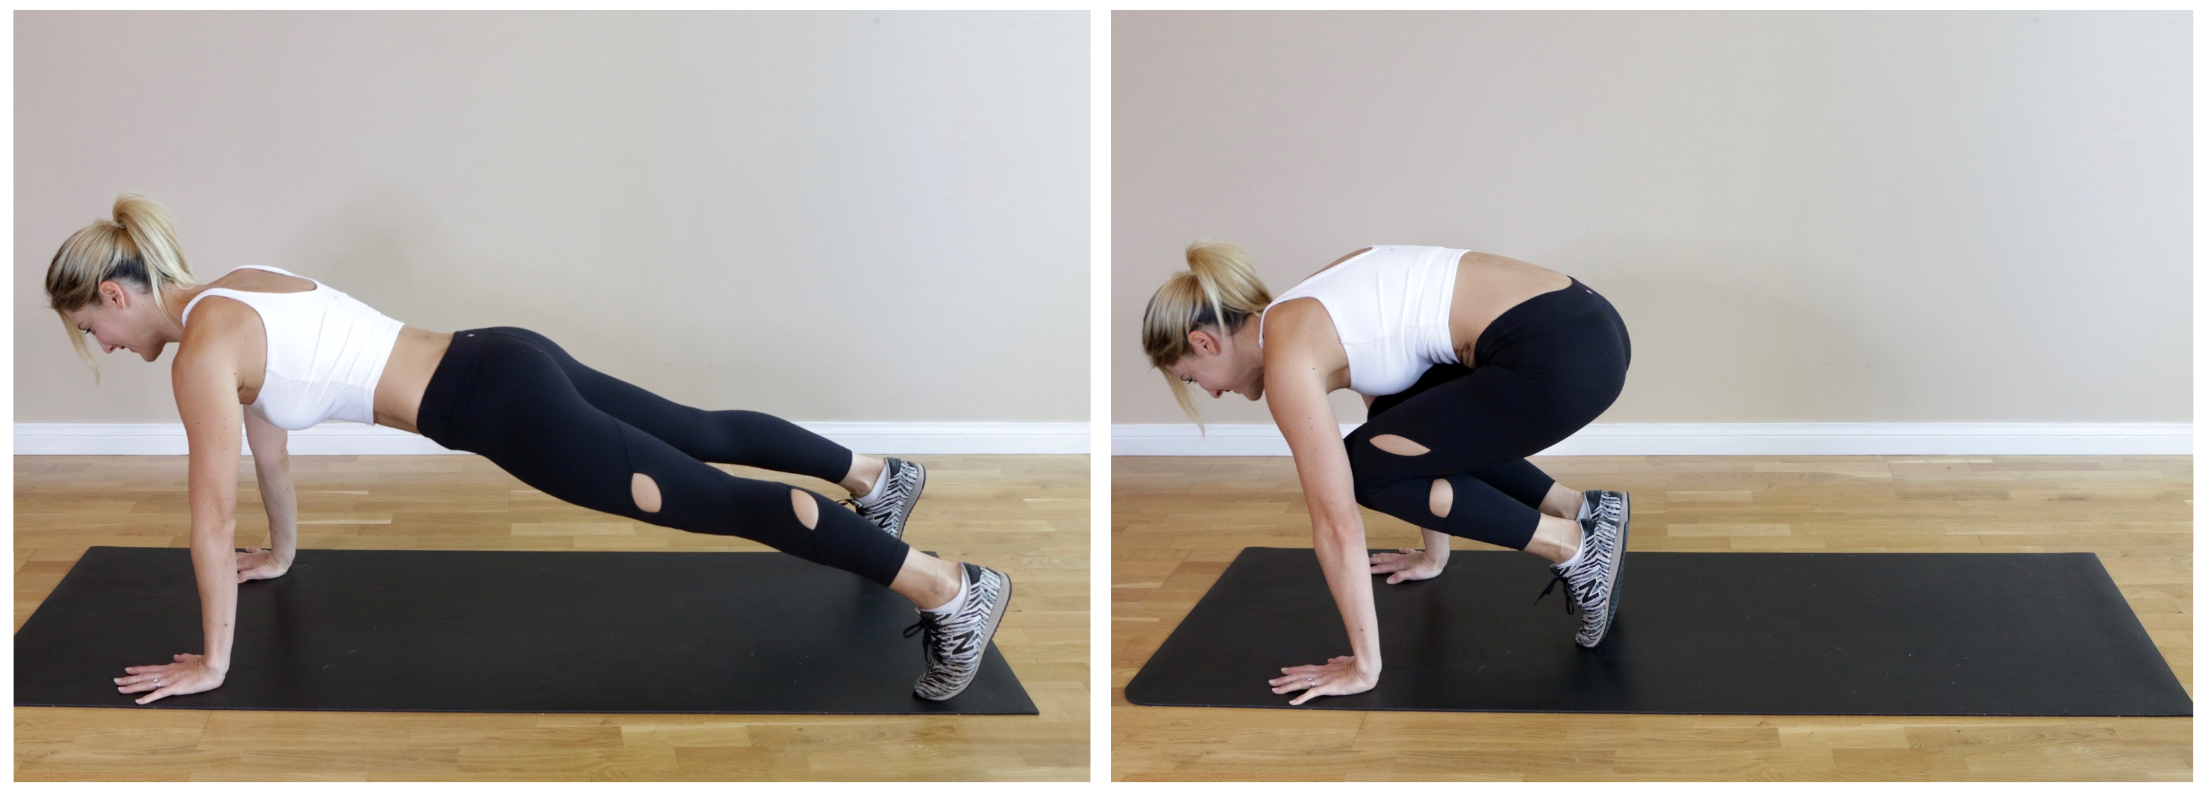
- Start in a plank position (hands lined up under shoulders and body forming a straight line down to heels that are shoulder width apart).
- Shift most of your weight forward to be light on the feet.
- Jump or step your feet forward until your knees are between your elbows.
- Keep your hips up and in line with your shoulders and tighten your core muscles.
- Step or jump back to plank and repeat.
- Do as many as you can during your work time interval.
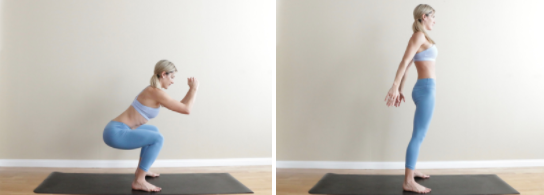
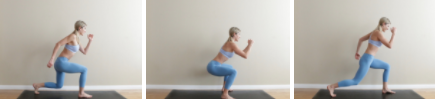
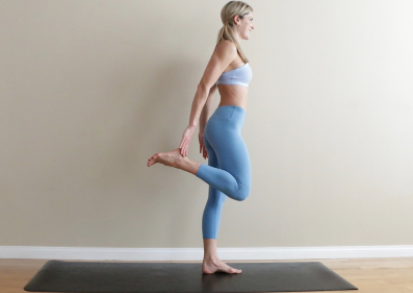
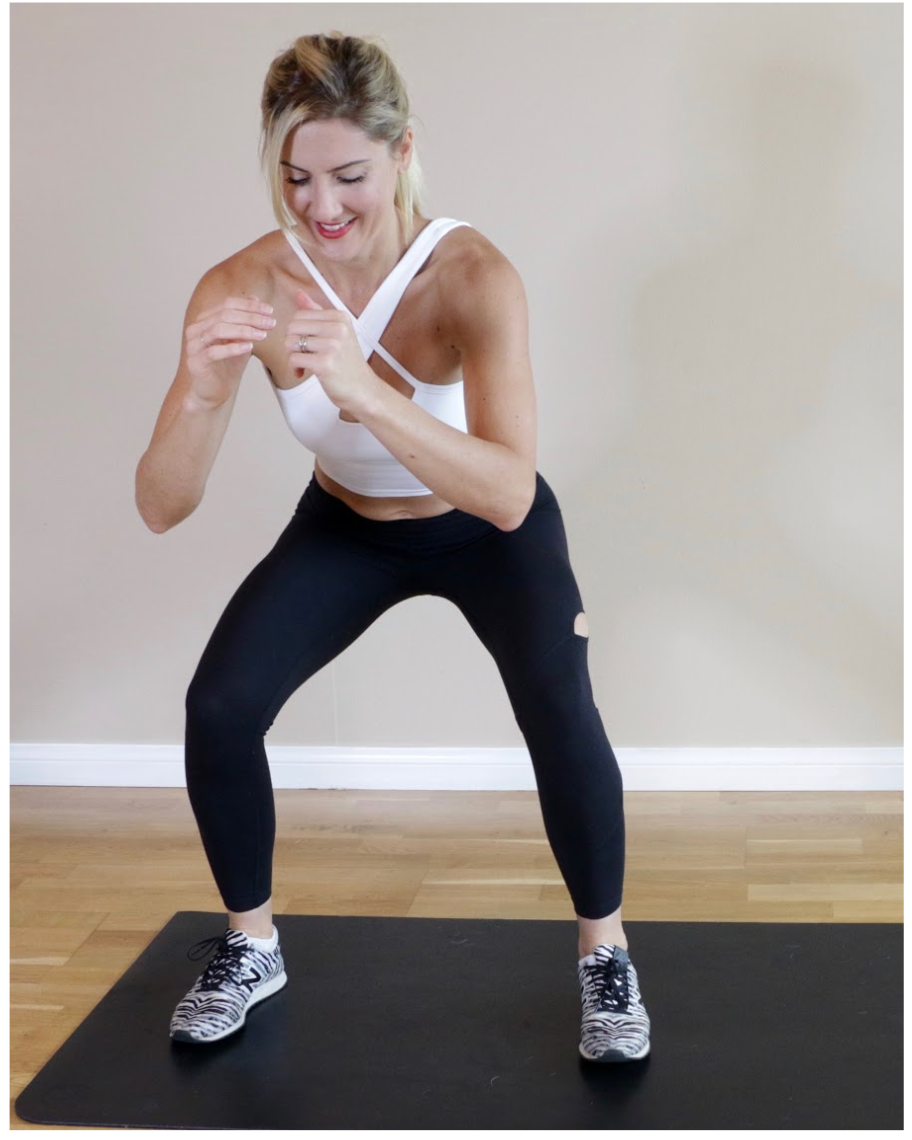
2) Side to Side Shuffle
- Start by standing on one side of your mat, in a half squat position with your feet about shoulder width apart, knees bent, and arms held in front of you.
- Shuffle to the right, maintaining your low position.
- Stop when you reach the edge of your mat and shuffle back the other way.
- Repeat shuffling back and forth without standing up.
- Do as many as you can during your work time interval.
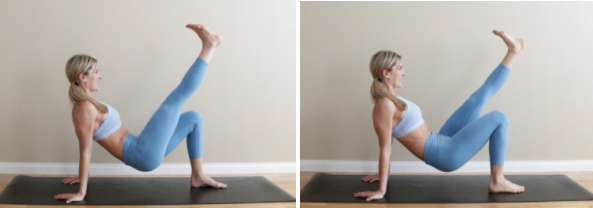
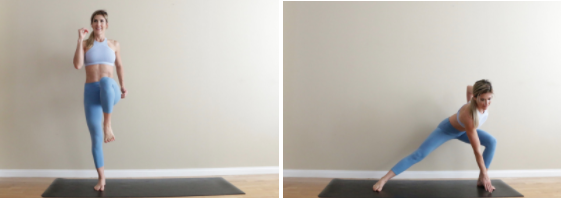
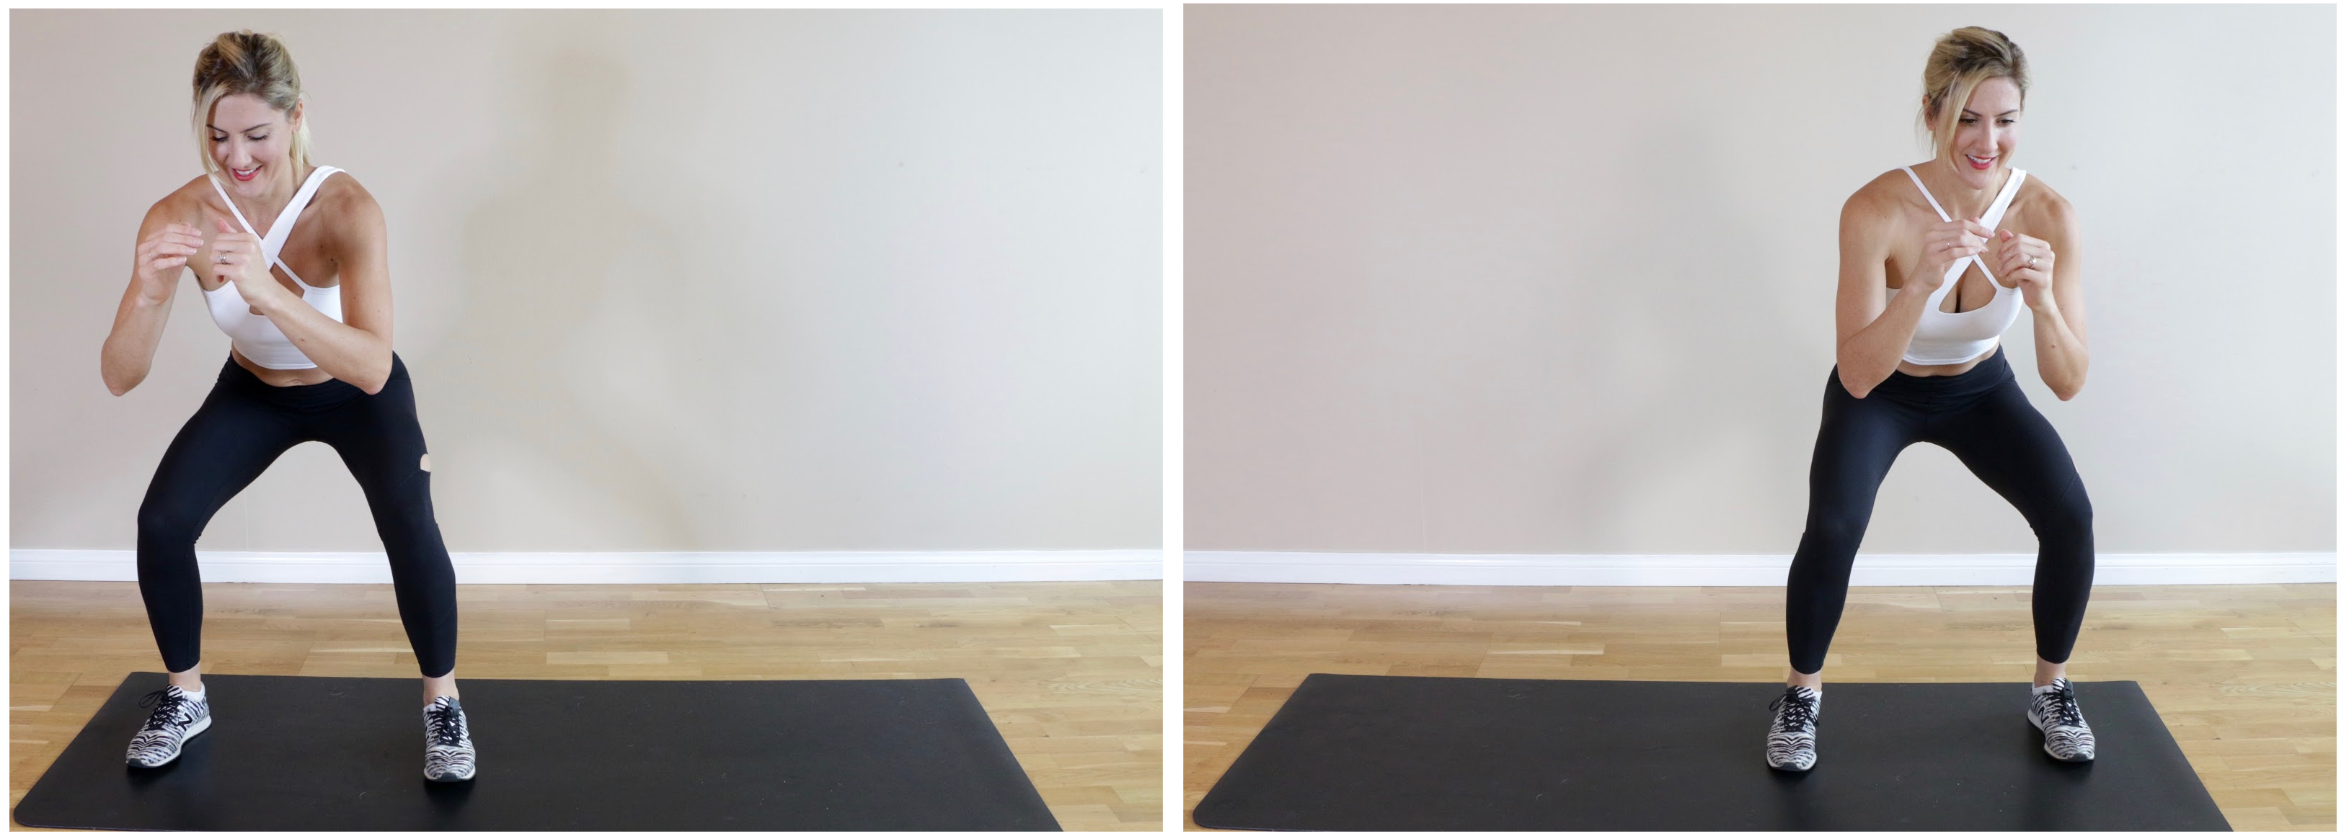
3) Heel Taps
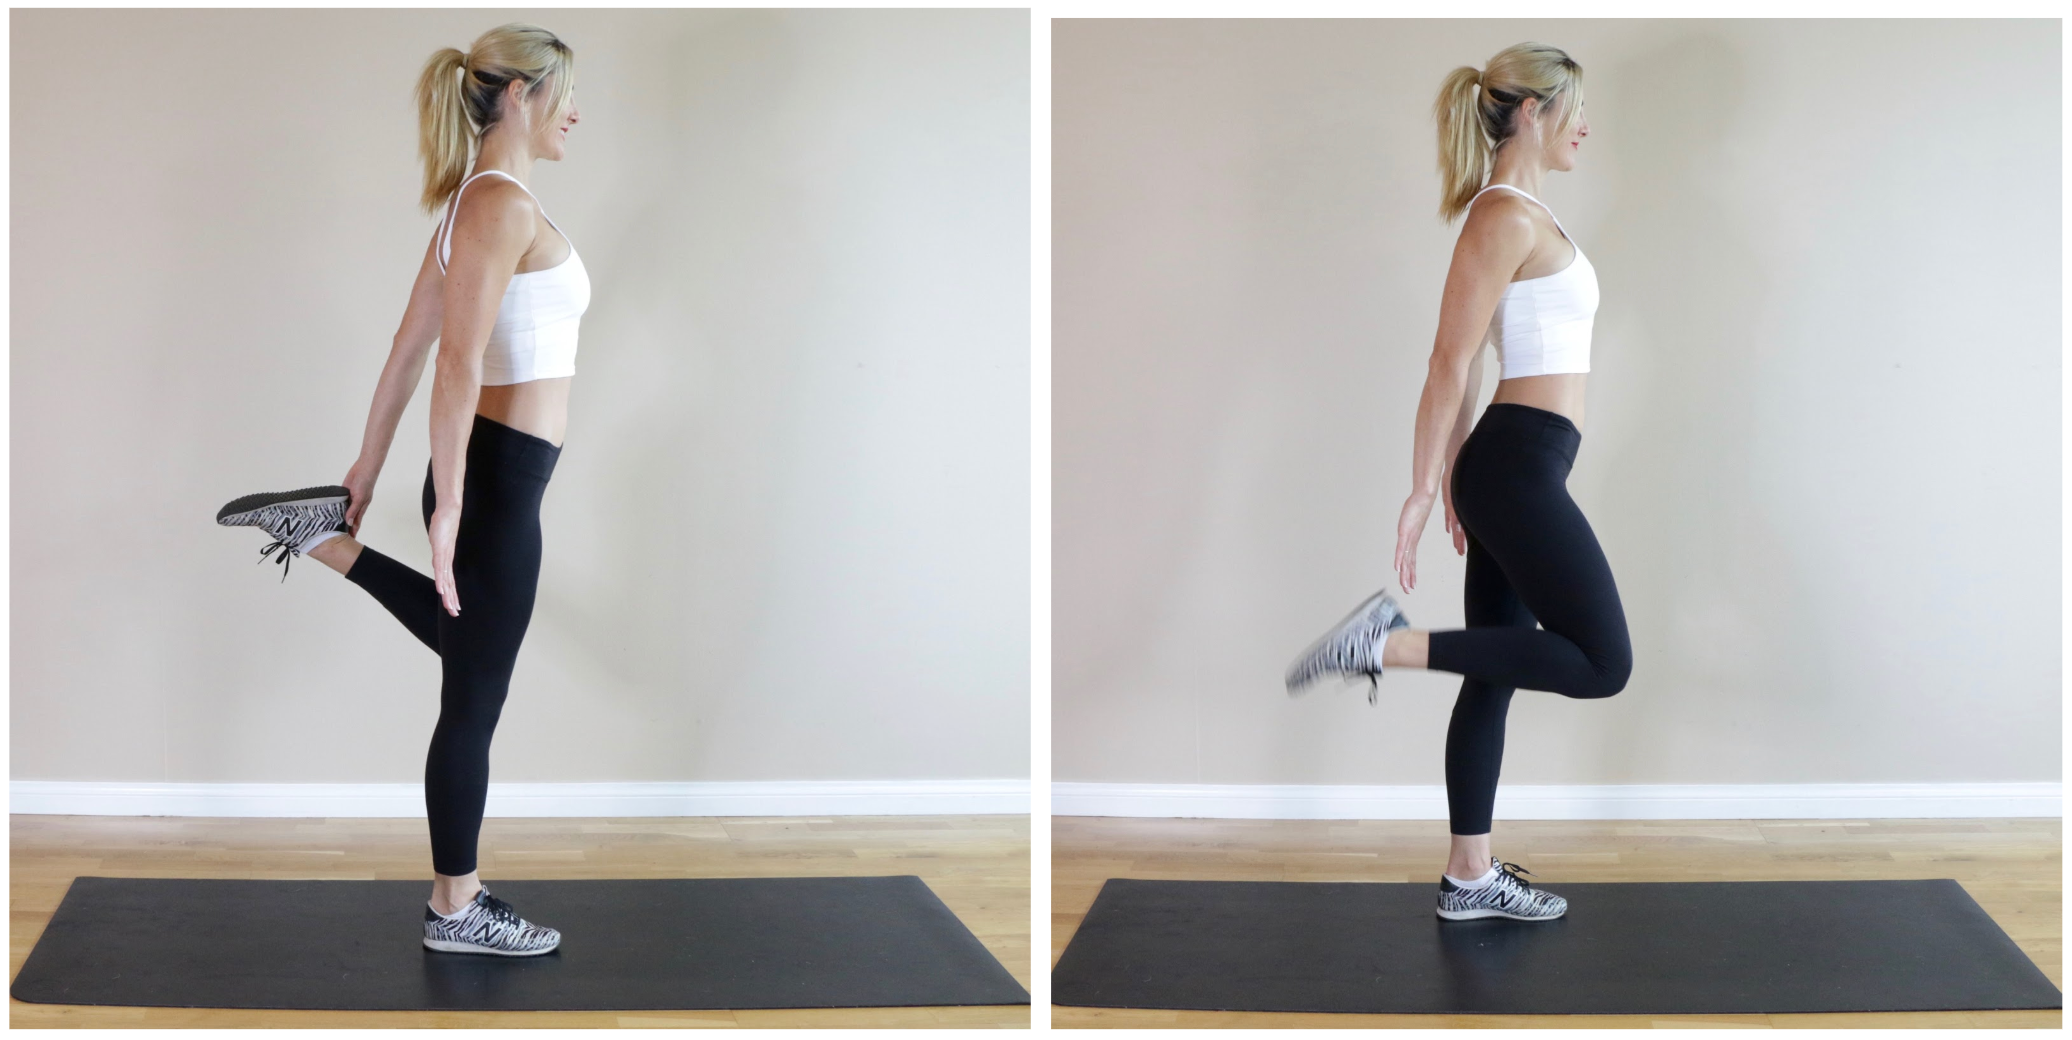
- Start by standing tall with your arms down by your sides.
- Kick your right heel up behind you to tap your right palm.
- Switch and do the same on the left
- Alternate sides moving quickly but keeping your core tight and maintaining your posture.
Tip: To make it more advanced turn it into a butt-kicking jog in place.
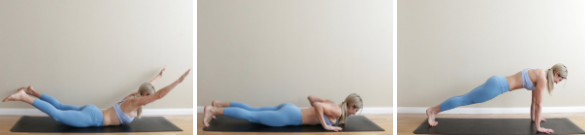
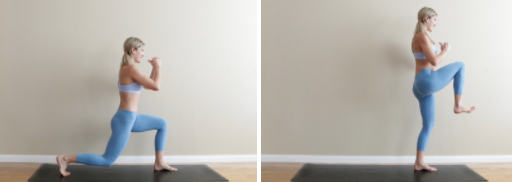
4) High Knee March
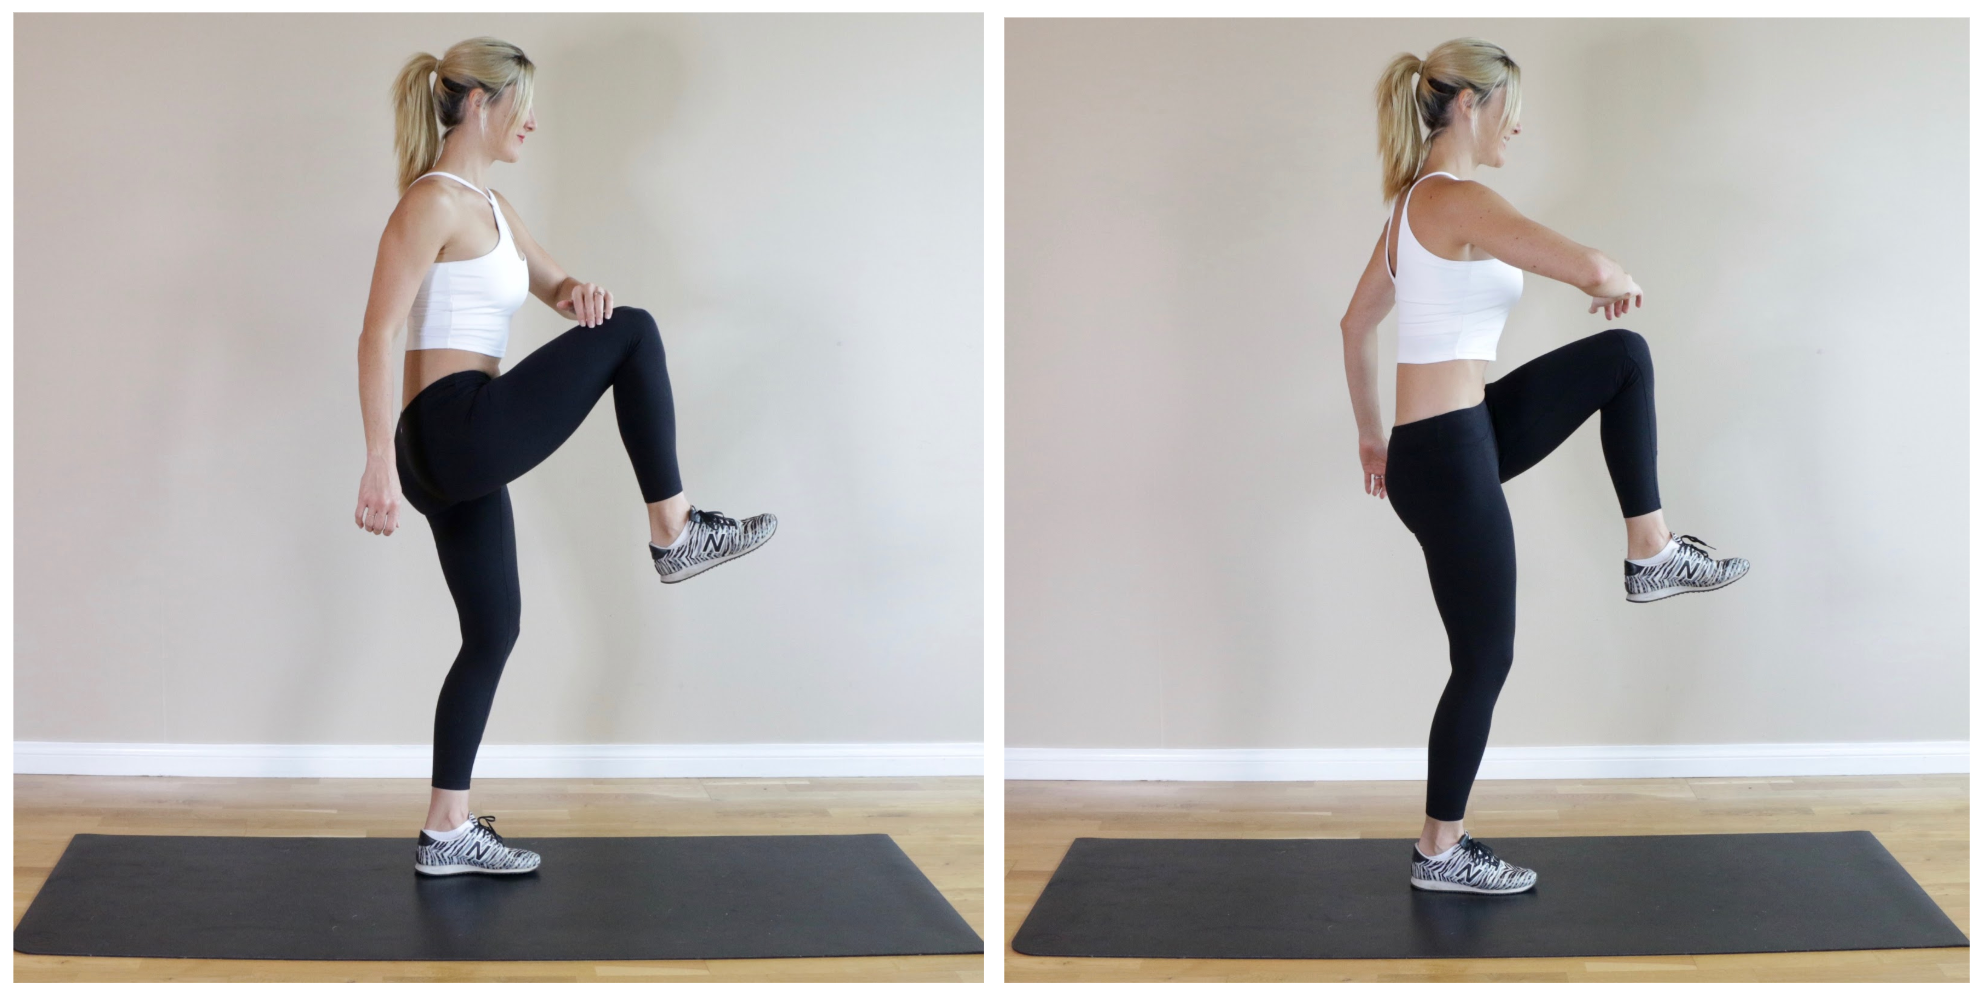
- Start by standing tall and lifting your right knee up to meet your left forearm.
- Switch and do the same on the left, matching it with your right forearm.
- Keep your head and chest up and your core tight.
- Alternate sides moving quickly but keeping your core tight and maintaining your posture.
Tip: To make it more advanced turn it into a high knee jog in place.
5) Follow A Workout Schedule Instead Of Making It Up As You Go
It may seem like more work to have to plan out your week ahead of time and book appointments with yourself to workout, but this is one of the best-proven methods to stay accountable, be consistent and prevent skipped workouts. It only takes a few minutes on Sunday to look at the week ahead and determine when you can fit your workouts in.
If you find your work schedule tends to be unpredictable then your best bet is to schedule your workouts in before work, even if that means getting up 20-30 minutes earlier than you’re used to. Once you log a few weeks of consistency with your workout schedule it will become routine and habitual, to the point where you don’t have to question whether to do it or not, you just simply do it.
6) Drink Plenty of Water & Eat Plenty of Healthy Food
It goes without saying that proper hydration and healthy nutrition are essential for achieving a beautifully strong and toned body.
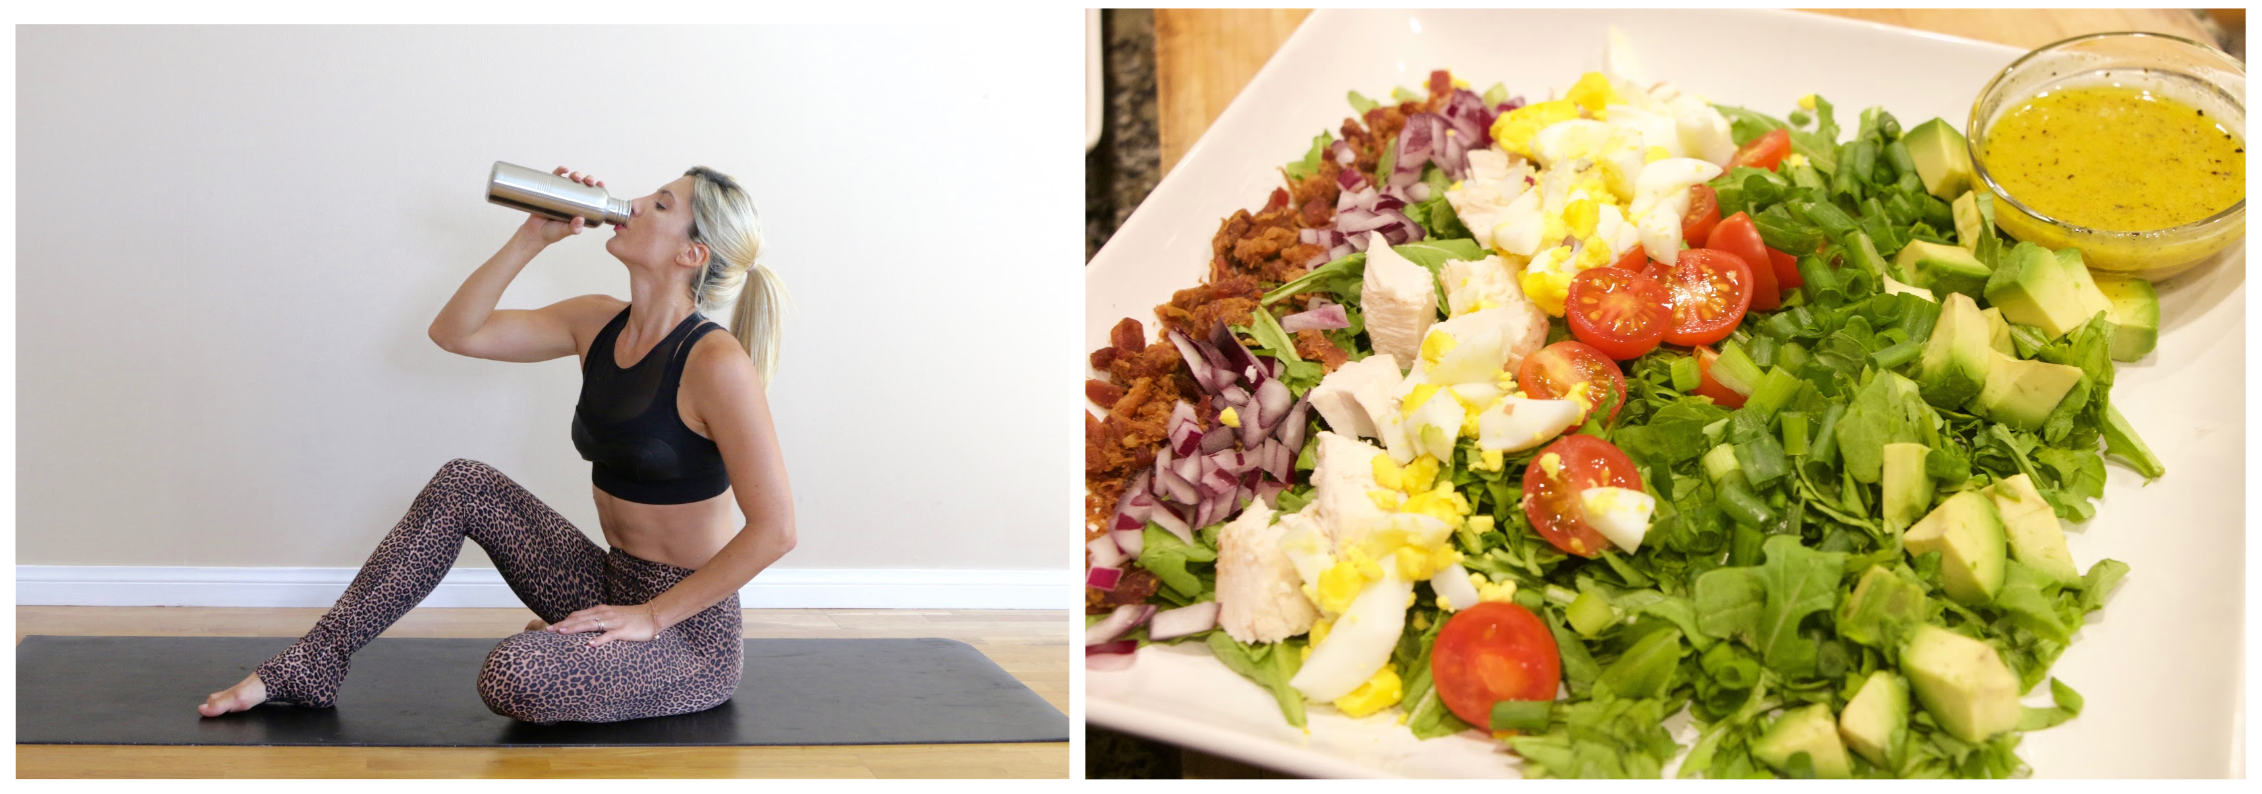
As for how much water to drink?
I recommend at least half your body weight in ounces daily. For example: If you weigh 130 lbs you would drink at least 65 ounces of water each day. That’s just over 8 cups. If you weigh more, drink more and if you weigh less you can drink less. Your water requirements may rise with an increase in activity level, so if you feel thirsty drink up! Ideally, you want to drink enough water that you feel good and hydrated, but not so much that it feels like a chore or makes you feel bloated. Test out different amounts and see what works best for your body.
And what does healthy nutrition look like?
A healthy diet means different things to different people, but I believe most people can agree that a diet rich in plant-based foods, like vegetables, with a moderate amount of protein and fats to create balance, is best for well-rounded nutrition.
A good rule of thumb is to “eat the rainbow” meaning include lots of color on your plate and make sure each meal is made up of more than half its volume in plants, especially greens.
You should have a general idea of how many calories you should be consuming each day. For average sized women with a moderate activity level, this can be between 1800-2200 calories daily. Even if your goal is weight loss it’s important that you eat enough to keep your metabolism healthy. Don’t be afraid of food. Nutrition is your friend especially when it comes to getting your figure in shape. The more healthy food you eat the more energy you’ll have to crush your workouts.
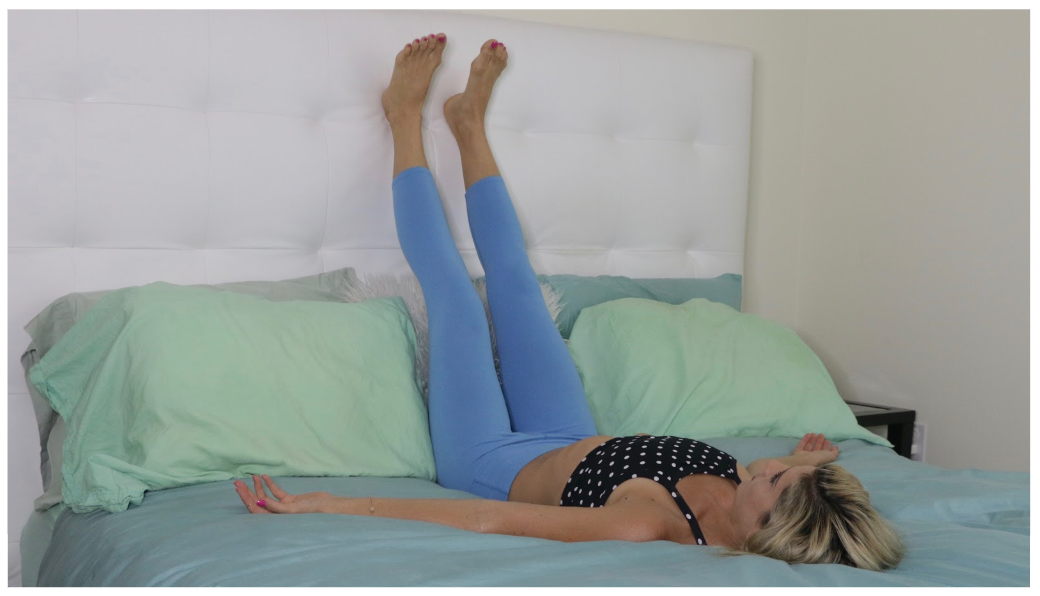
7) Lay Down To Sleep At The Same Times Your Baby Sleeps
Newborn babies need a lot of sleep. Most infants take at least 14 hours of sleep per day [3]. But as a new mom, you might find yourself staring at him or her while she sleeps or scrambling to clean the house or do whatever chores you couldn’t while the baby was awake.

Stop whatever you think you need to do and prioritize yourself getting a little snooze time. You don’t have to reserve your sleep time for night time only, it’s okay for you to nap during midday or whenever your baby is napping too.
Tip: If you have a hard time falling asleep during the day you can at least close your eyes and put your legs up the wall to take a relaxing 10-15 minute period that rejuvenates your body and mind.
8) Have Patience. Skip Shortcuts. Allow However Much Time It Takes
I completely understand that you’ve just spent 9 months pregnant and have been anxiously waiting to see your slim waist again.
Unfortunately taking weight loss shortcuts or using drastic measures in efforts to lose weight fast usually backfire and leave you in a worse position than if you’d had patience and done things the right way.
It will take time to see your slim waist again, but it will definitely happen if you focus on keeping yourself fit and healthy.
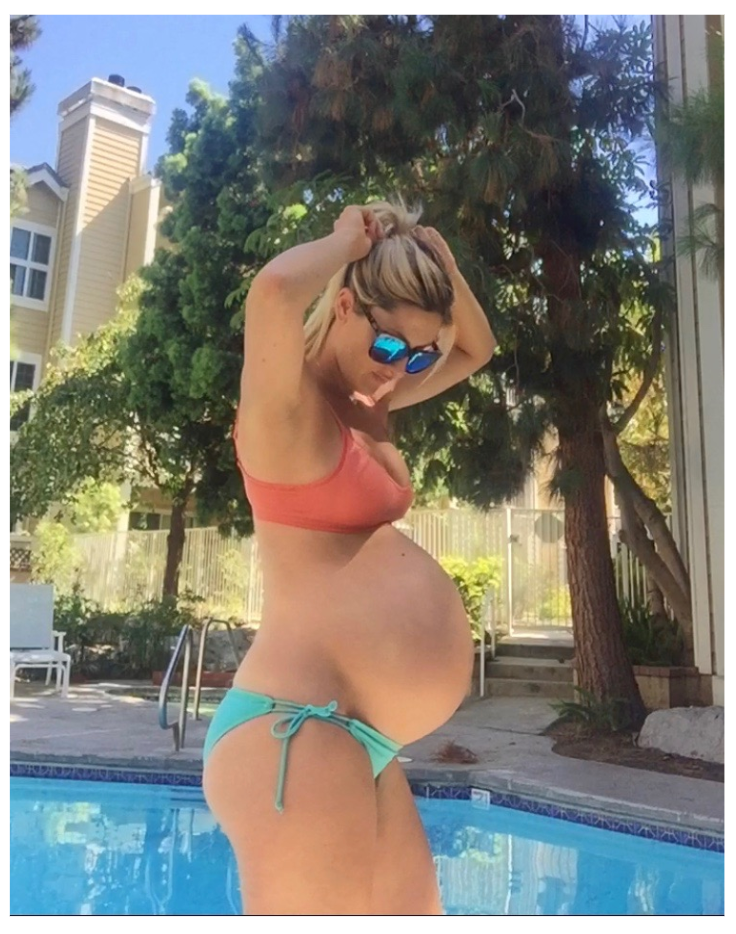
Here’s me at the peak of my pregnancy: (9 months pregnant)
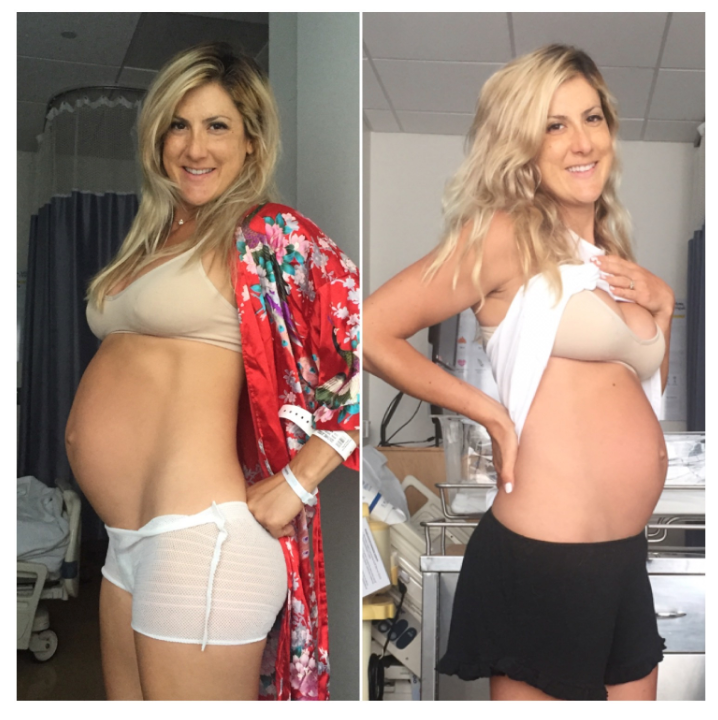
The day after giving birth: (a few hours after delivery, then the same day still in the hospital in the late afternoon, with baby sleeping in the bassinet behind me)
Then a week later:
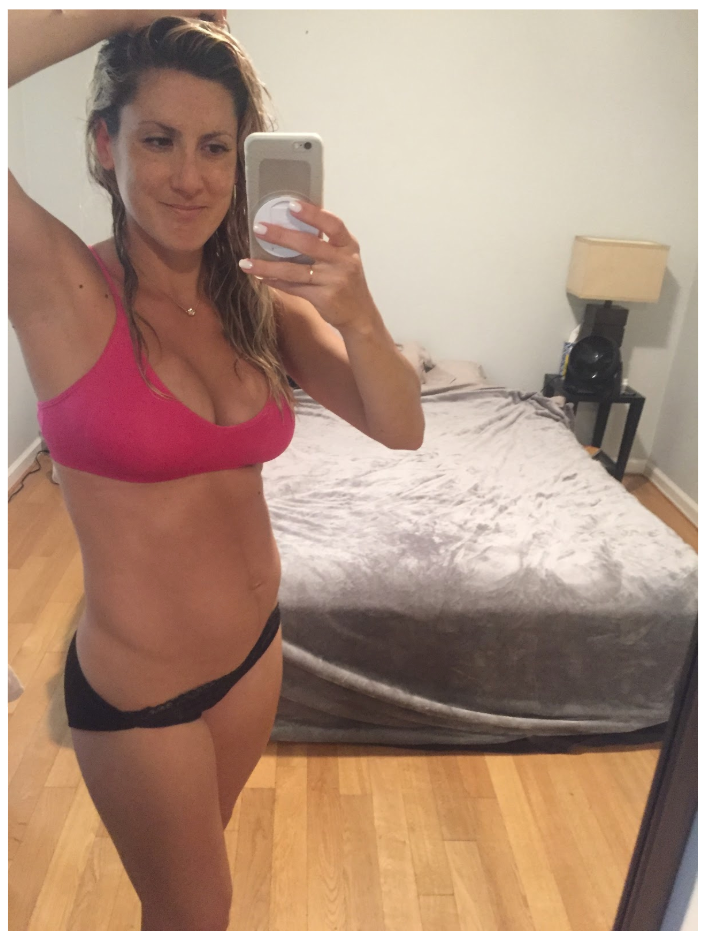
About 3 months later:
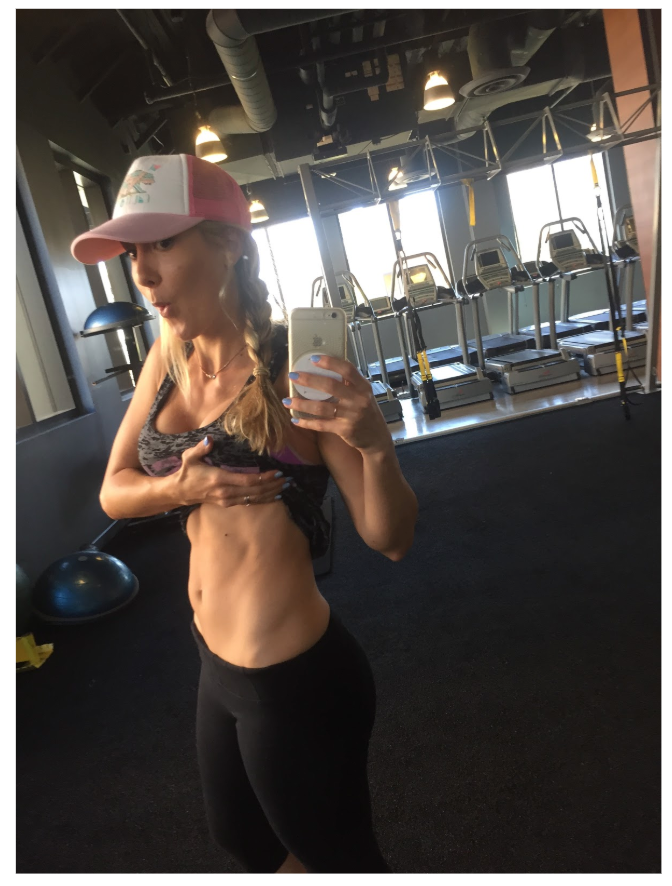
And about 5 months later I felt that my figure was back:
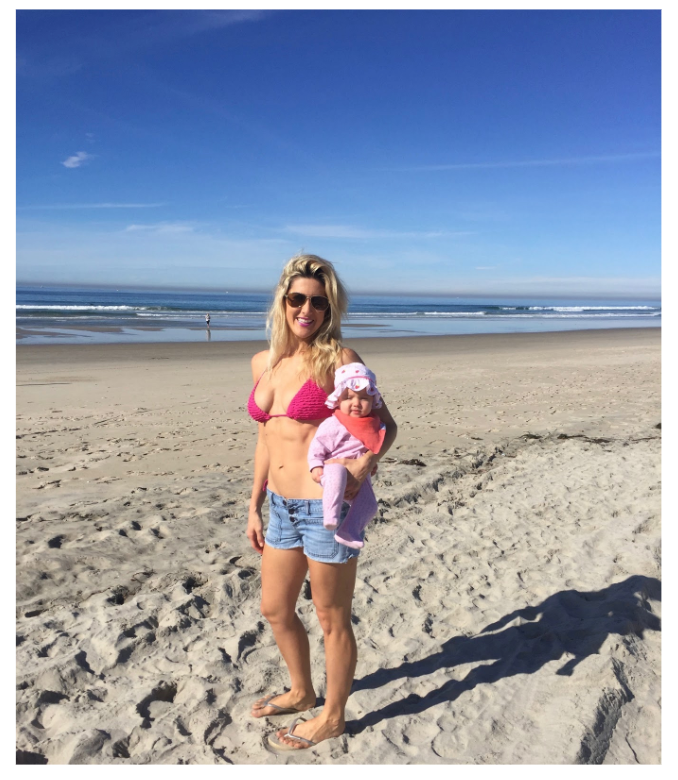
An important note: Everyone’s fitness journey is unique and there’s no right or wrong speed or timeline to get your body back post-pregnancy. My recovery was faster than average, due to a very fit start and being able to continue my fit and active lifestyle during pregnancy and after. I was lucky to have no complications during pregnancy, delivery, or beyond.
If you’re struggling with factors out of your control be patient with your progress and allow yourself however much time it takes. There is no deadline and nothing is wrong if your process is taking longer.
In conclusion, your overall health should be your highest priority as a new mom and your figure will come back in time if you are taking all the right steps to keep yourself healthy strong and lean.
Resources:
[1] Postpartum Counseling, Diet, Nutrition, Exercise:
http://www.arhp.org/publications-and-resources/quick-reference-guide-for-clinicians/postpartum-counseling/diet
[2] Effects of breastfeeding on postpartum weight loss among U.S. women
https://www.ncbi.nlm.nih.gov/pmc/articles/PMC4312189/
[3] Sleep duration from infancy to adolescence: reference values and generational trends.
https://www.ncbi.nlm.nih.gov/pubmed/12563055